Parking Lot Occupancy Detection using Deep Learning in Java

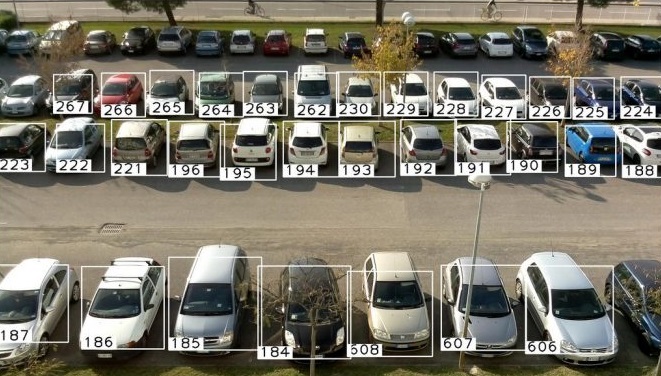
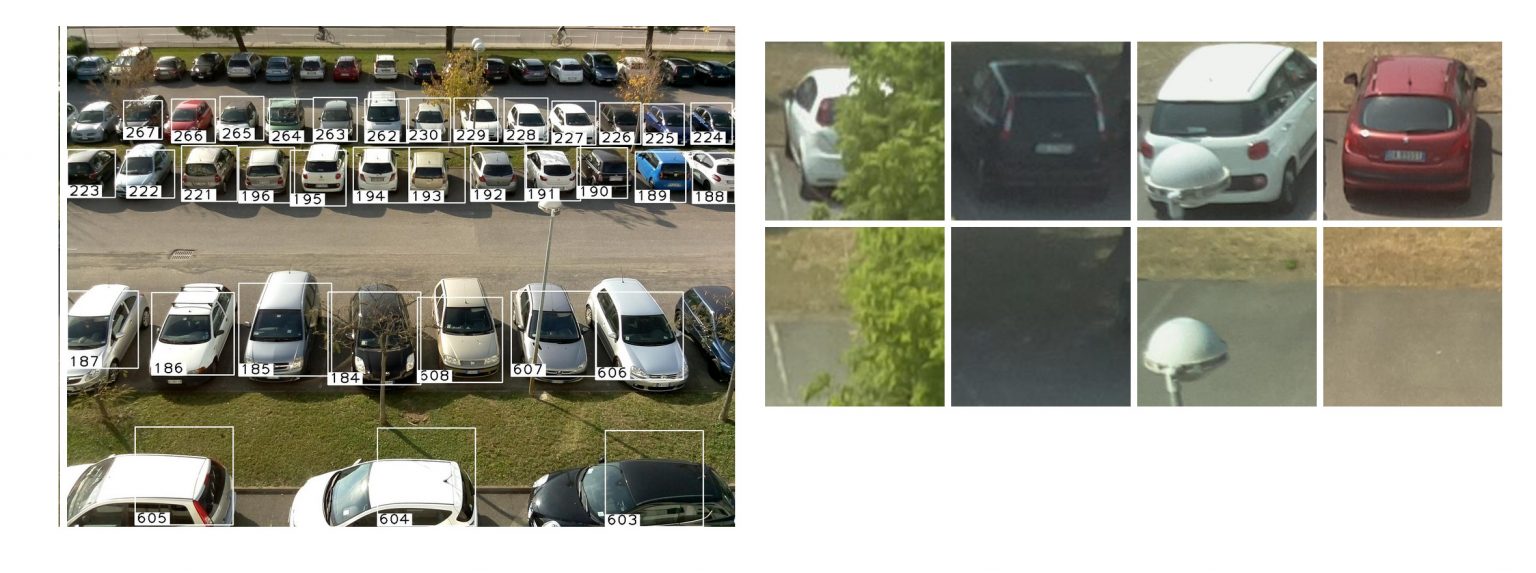
This video tutorial shows you how you can use Deep Netts to create visual parking lot occupancy detection using deep learning. The data set contains labeled images of vacant and occupied parking spaces, extracted from the camera under different light conditions. Occupancy detection is performed with a convolutional neural network in pure Java created with Deep Netts, with a similar accuracy around 99%. This example implements the work from the research paper https://www.sciencedirect.com/science/article/pii/S095741741630598X but with a much smaller and computationally less demanding network with the similar accuracy. This kind of network can be used with cameras to create distributed systems of smart cameras for parking monitoring.
The clear advantages of decentralization are the reduction of the communication overhead and the elimination of the computing bottleneck. As a consequence, the system scales better when the number of monitored parking spaces increases [1]The clear advantages of the decentralization are the reduction of the communication overhead and the elimination of computing bottleneck. As a consequence, the system scales better when the number of monitored parking spaces increases.

Training a Convolutional Neural Network Using Deep Learning IDE
Step by Step Instructions
- Download the Deep Netts. Unpack the downloaded zip file.
- Download the image data set Unpack the downloaded zip file
- Start the Deep Netts IDE (for details look at Getting Started tutorial in the downloaded package)
- Create a new Deep Netts project by clicking [File > New Project] in the main menu, enter the project name, and click [Next]
- Choose [Classify Images] option and click [Next]
- Choose Binary Classification option since we have two possible categories (Occupied and Not occupied)
- Specify the image directory to the unpacked downloaded image set. Wizard will automatically detect or generate category labels image index. Click [Next].
- Set image preprocessing options: size 96×96, pixels, resizing stratch, invert pixels, standardize, upsample to balance classes
- Specify small convolutional neural network architecture (add 1 convolutional layers with 3 channels that perform image filtering and feature detection, max-pooling layer after convolutional layer that scales down an image, and two fully connected layers with width 30 that perform classification of detected features). Other settings have been pre-selected by the expert wizard for this type of task. Click [Next]
- Set main training parameters that include network architecture and training/test set split options (you can accept settings provided by the expert wizard). Click [Next].
- Set additional training algorithm parameters (or accept commonly used default settings provided by the expert wizard ). Click Next.
- Run Training by right-clicking the training file and then select [Run Training File] pop-up menu option. If you wish you can check [Visualize Layers] in the training dialog option to be able to observe layer activity during the training. You can also observe network outputs, error, and accuracy graphs and inspect detailed logs for each training iteration (aka epoch). These visualizations can be helpful to debug network training.
- At the end of the training, you can analyze the training process and test metrics in log (confusion matrix, accuracy, precision, recall). An entire log file will be available for later inspection and comparison in [Training Logs] project folder.
- The trained convolutional network is available as a serialized object in [Trained Networks] project folder (>)
- You can also generate .jar file which contains a trained neural network using the Create Jar Option from the right click menu.
- To test the classification of the trained model with the entire data set use [Tools > Test Image Set] in the main menu
- You can use the trained network in your Java application using the Deep Netts library which is also available as a part of the download package.
To use the trained convolutional network in your Java app, use the following Java code:
// Load trained convolutional network
ConvolutionalNetwork trainedNet=  FileIO.createFromFile("trainedNetwork.dnet", ConvolutionalNetwork.class);
// turn on image preprocessing used during the training
((ImagePreprocessing)trainedNet.getPreprocessing()).setEnabled(true);
// Create image classifier based on trained network and VisRec API
ImageClassifierNetwork imageClassifier = new ImageClassifierNetwork (trainedNet);
// load image to classify
BufferedImage image = ImageIO.read(new File("someImage.jpg"));
// Classify new image and get probabilities for all possible classes
Map<String, Float> results = imageClassifier.classify(image);
[1] Original paper: Deep learning for decentralized parking lot occupancy detection
https://www.sciencedirect.com/science/article/pii/S095741741630598X
- Original data set: http://cnrpark.it
- How to do it in Java code using Deep Netts Community Edition
https://github.com/deepnetts/parking-lot-occupancy-detection
Learn More